
Dashboards
The Dashboards page lets you create, import, and manage custom dashboards to visualize your observability data. Each dashboard is a collection of panels arranged in a responsive grid layout, with dashboard-level variables for dynamic filtering.
Overview
Dashboards provide a customizable way to monitor your infrastructure and applications. Each dashboard contains one or more panels that visualize metrics, logs, or traces data. Panels are arranged in a drag-and-drop grid that automatically adapts to different screen sizes. A large dashboard can be split into tabs.
Dashboard List
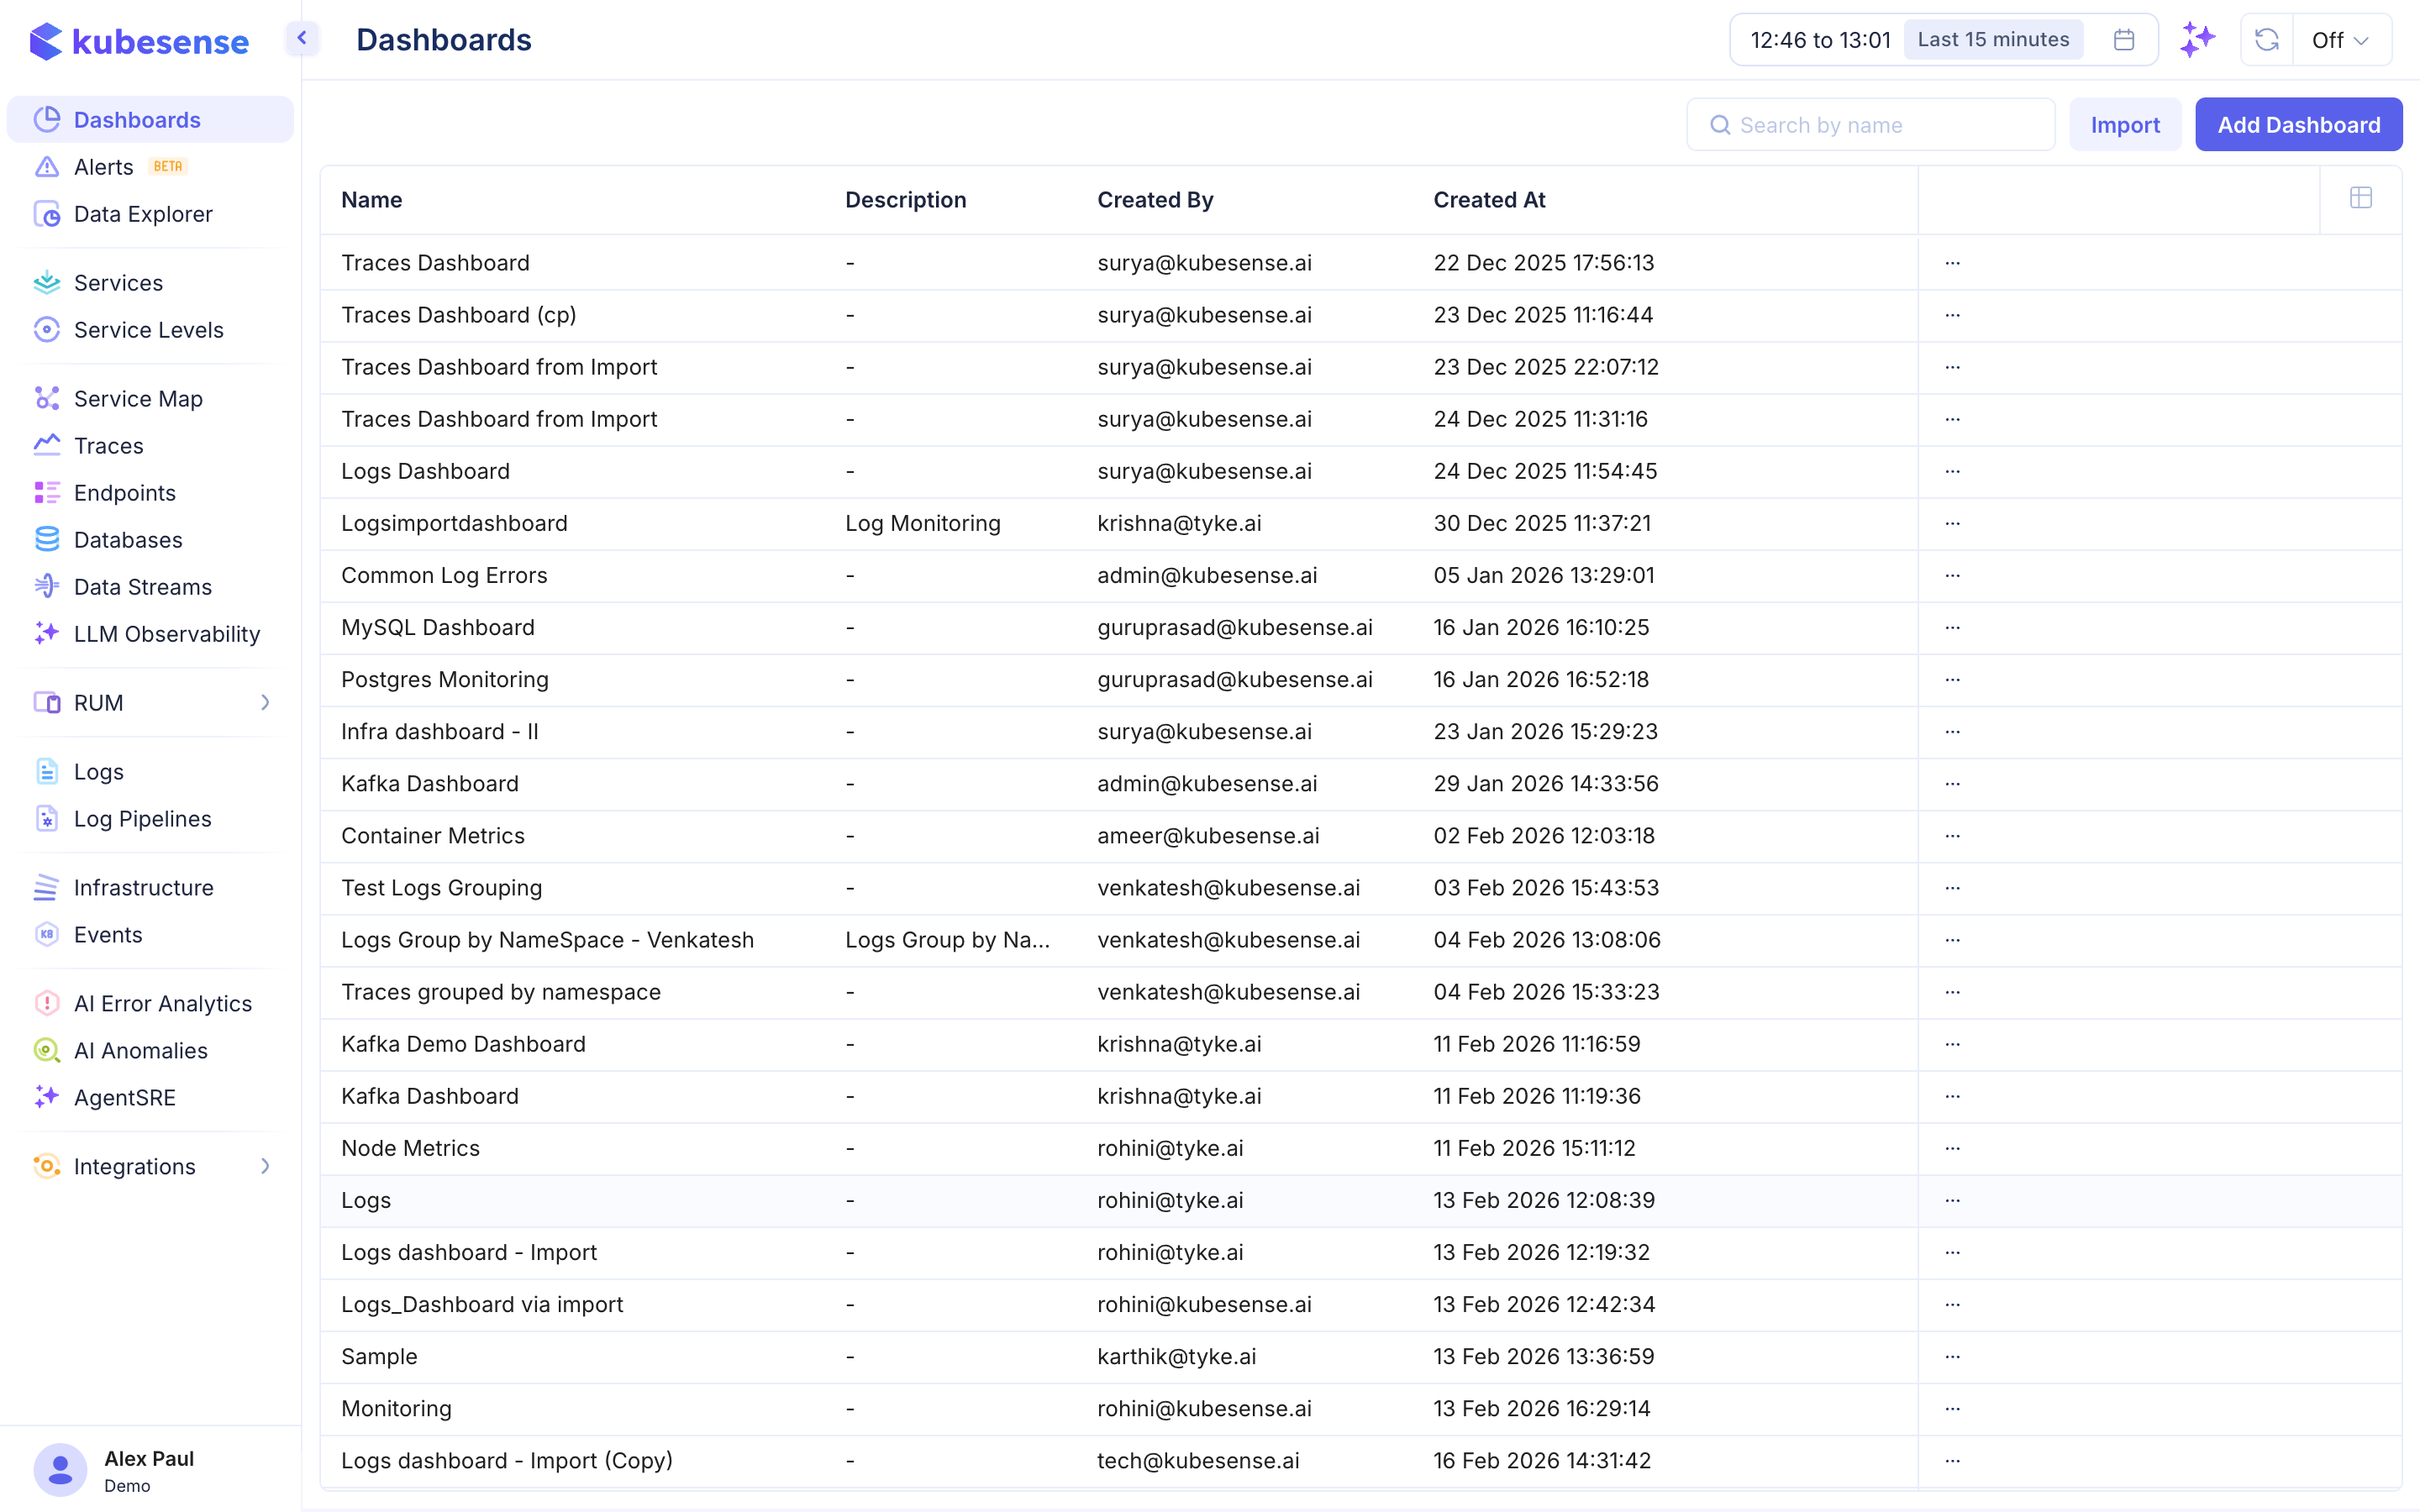
The dashboard list shows all available dashboards:
| Column | Description |
|---|---|
| Name | Dashboard name |
| Description | Optional description of what the dashboard monitors |
| Created By | User who created the dashboard |
| Created At | Creation timestamp |
Use the search bar to find dashboards by name, and sort or paginate through the list.
Dashboards can be grouped into dashboard lists, shown in the rail on the left. A dashboard can belong to several lists at once.
Creating a Dashboard
There are two ways to create a dashboard:
- From the Data Explorer — Build a query and visualization in the Data Explorer, then click Create New Dashboard to save it as a new dashboard with that panel
- From the Dashboards page — Click New → New Dashboard to create an empty dashboard, then add panels to it
Importing and Exporting Dashboards
- Import — Click Import to upload a dashboard JSON file. This is useful for sharing dashboards across teams or migrating from other environments.
- Export — Download any dashboard as a JSON file for backup or sharing.
Built-in Dashboards
KubeSense includes several pre-built dashboards:
- Traces Dashboard — Overview of distributed trace metrics
- Logs Dashboard — Log volume and error trends
- MySQL Dashboard — MySQL database performance metrics
- Postgres Monitoring — PostgreSQL performance metrics
- Kafka Dashboard — Kafka broker and consumer metrics
- Container Metrics — Pod and container resource utilization
- Node Metrics — Cluster node health and performance
Viewing a Dashboard
Once you open a dashboard, you can interact with panels, adjust variables, drag-and-drop the layout, and more. See Viewing a Dashboard for full details.
Tabs
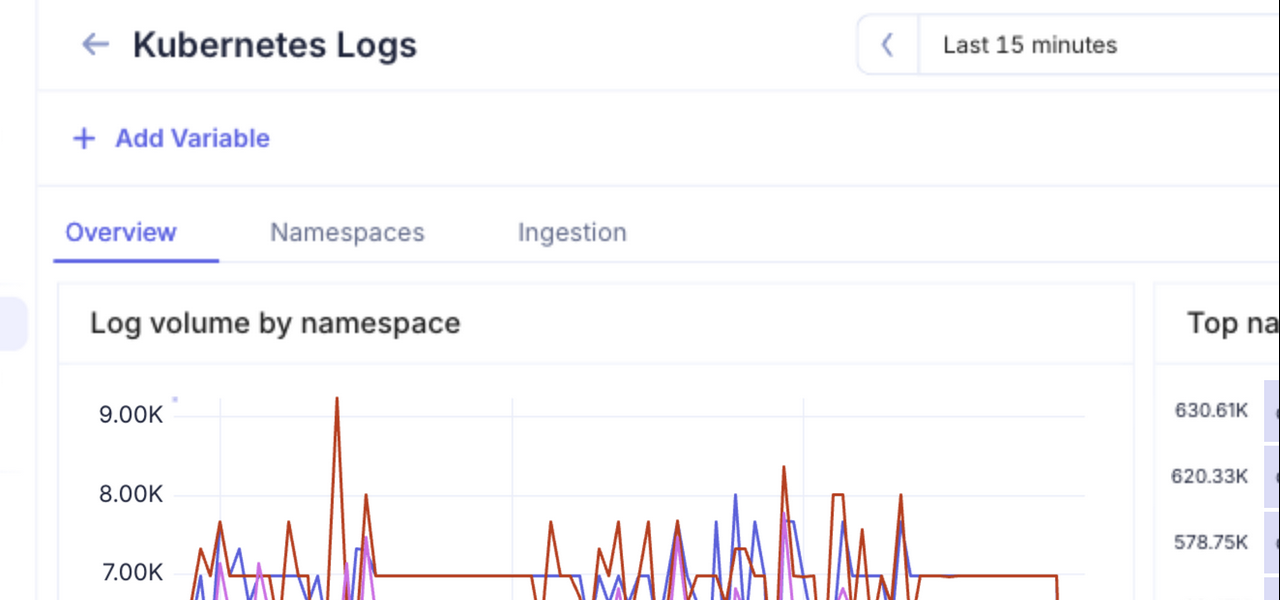
Tabs split a dashboard into pages. Each tab has its own panels and rows, and the dashboard shows one tab at a time. Use tabs when a dashboard covers separate views, for example an overview, node health and one tab per service. Use rows when the panels belong on one page and you only want to group or collapse them. A tab can also hold rows.
A dashboard without tabs works as before. The tab bar appears only after you add a tab.
Who can use tabs
- To add, rename, reorder or delete tabs, you need permission to edit the dashboard. See Dashboard Access.
- Anyone who can view the dashboard can switch between its tabs. This includes read-only, shared and public views.
Adding a tab
- Open the dashboard.
- If the dashboard has no tabs, open the Add menu in the toolbar and select Add Tab. If it has tabs, click + at the end of the tab bar.
- Type a title for the new tab and press Enter.
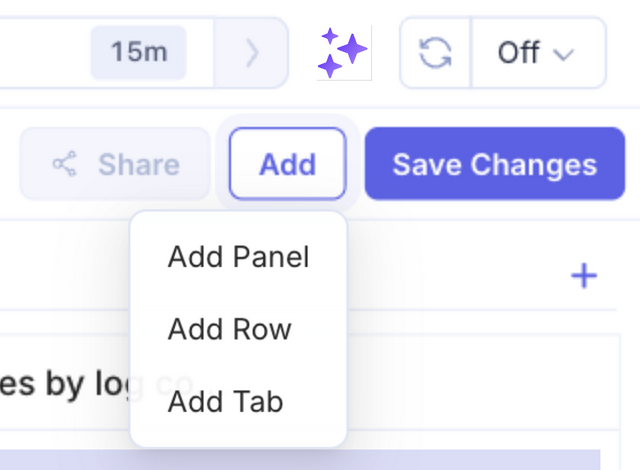
The new tab is called New tab until you rename it. If that title is taken, it is New tab 2, New tab 3 and so on. The new tab opens with its title selected, so you can type over it.
When you add the first tab to a dashboard, KubeSense creates two tabs. The first is Overview, and it holds all of the dashboard's existing panels and rows. The second is the new, empty tab.
Tab changes are not saved until you click Save Changes, the same as other layout changes.
Renaming a tab
- Double-click the tab title, or open the tab menu and select Rename.
- Type the new title.
- Press Enter, or click outside the title.
To cancel, press Esc. The previous title comes back. An empty title also restores the previous one.
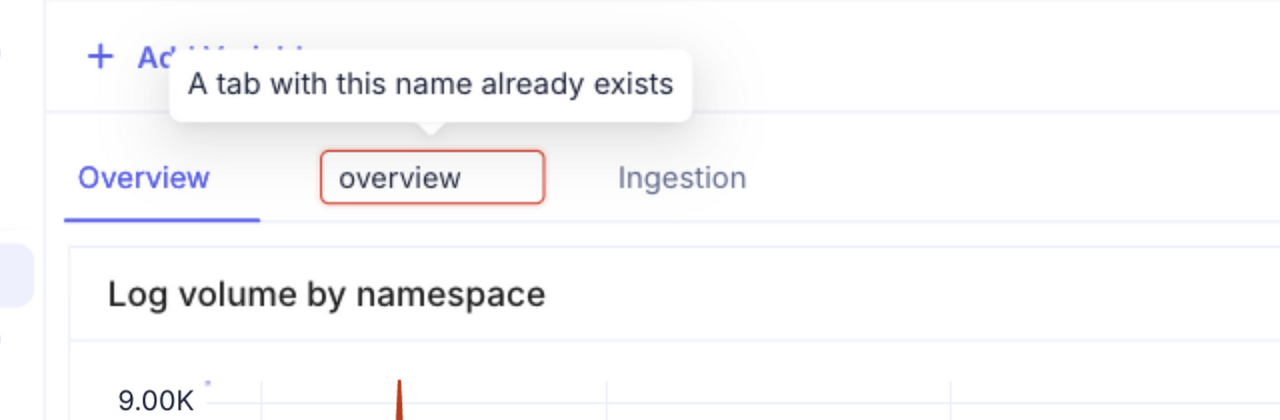
Each title must be unique in the dashboard. Capital letters do not make a title different, so Nodes and nodes are the same title. If the title is taken, the tab shows A tab with this name already exists and stays in edit mode until you change it. A title can be up to 50 characters.
Renaming a tab does not change its link. See Linking to a tab.
Using the tab menu
If you can edit the dashboard, each tab title has a ⋮ icon that opens the tab menu. The menu has these actions:
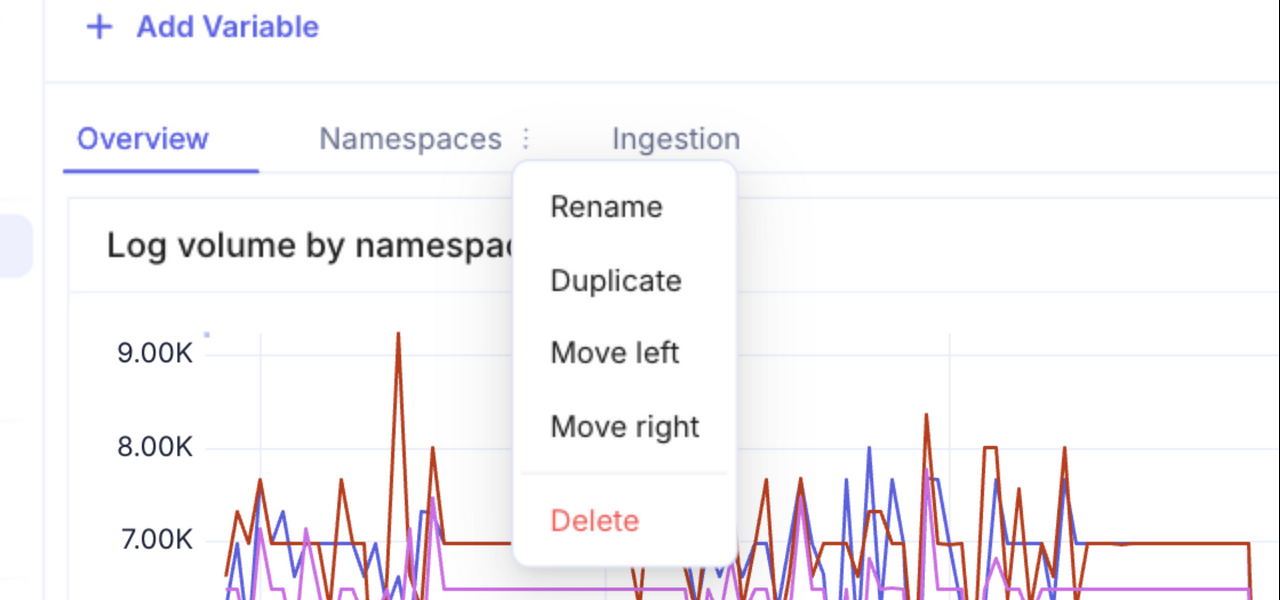
| Action | Result |
|---|---|
| Rename | Puts the title in edit mode. See Renaming a tab |
| Duplicate | Adds a copy of the tab and its panels and rows, called <title> (copy) |
| Move left | Moves the tab one place to the left |
| Move right | Moves the tab one place to the right |
| Delete | Deletes the tab and its panels |
If the tab has panels, Delete asks you to confirm, for example Delete 'Node health' and its 4 panels?. An empty tab is deleted without a prompt. If you delete the tab you are on, the dashboard opens the tab next to it.
When you delete all but one tab, the dashboard goes back to a single page without tabs. The panels of the remaining tab stay, and its title is dropped.
Working inside a tab
Add Panel, Add Row and the expanded panel view act on the tab you are on. A new panel goes into the open tab.
When you add a panel to a dashboard from the Data Explorer, the Logs page or the Traces page, and that dashboard has tabs, select the tab in the tab picker. It selects the first tab by default.
Moving a panel to another tab
- Open the action menu of the panel. This works for panels at the top of a tab and for panels inside a row.
- Select Move to tab, then select the target tab.
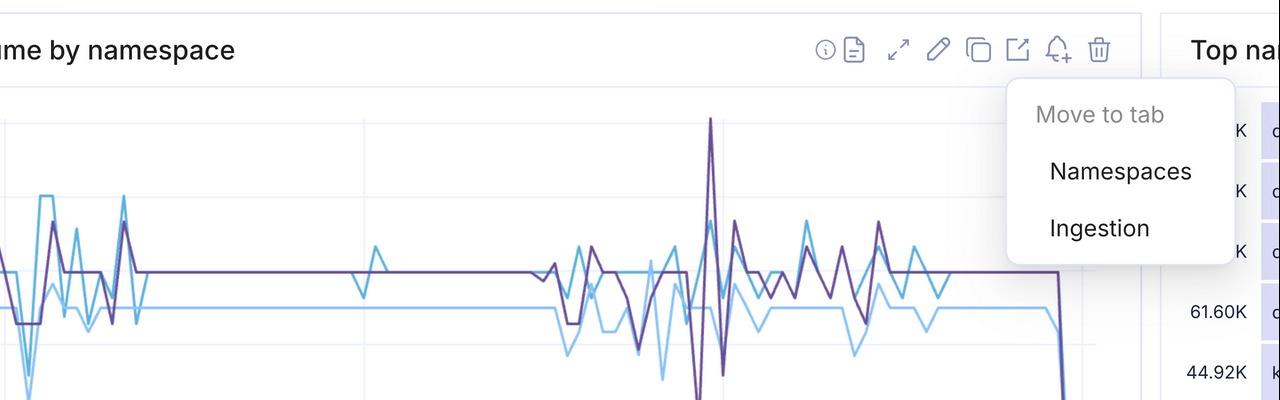
The panel moves to the bottom of the target tab, outside any row. Move to tab appears only on a dashboard that has tabs.
Linking to a tab
The URL of a tabbed dashboard ends with ?tab=<id>, for example ?tab=node-health. Copy the URL to share a link that opens that tab.
The id comes from the title the tab had when you created it. It does not change when you rename the tab, so links keep working. If the URL names no tab, or a tab that no longer exists, the dashboard opens the first tab.
What applies to every tab
These settings belong to the whole dashboard, not to one tab:
- Variables. The variable bar stays the same when you switch tabs, and the values you select stay in the URL.
- The time range and refresh.
- Event overlays. The dashboard overlay applies to every inheriting panel on every tab.
Dashboard Variables
Variables let you create dynamic, reusable dashboards. Define variables at the dashboard level and reference them in panel queries using $variableName syntax. Variable values are substituted at query time, so changing a variable instantly updates all panels that use it.
See the Variables page for full details on variable types, configuration, and usage.
Event Overlays
Event overlays mark events, such as GitHub deployments and merged pull requests, as vertical lines on Time Series and Bar panels. Use them to see whether a change lines up with a change in your data. See Event Overlays.
Sharing a Dashboard Publicly
By default any dashboard can be opened and edited by anyone whose role can see dashboards. Its owner can restrict it to named people — see Dashboard Access.
You can generate a public URL for any dashboard, allowing anyone with the link to view it without logging in. See Public Dashboards for details.
Migrating from Datadog
Already have dashboards in Datadog? Export the dashboard JSON and hand it to the KubeSense dashboard-generator skill to convert it automatically. See Migrating from Datadog for the steps.